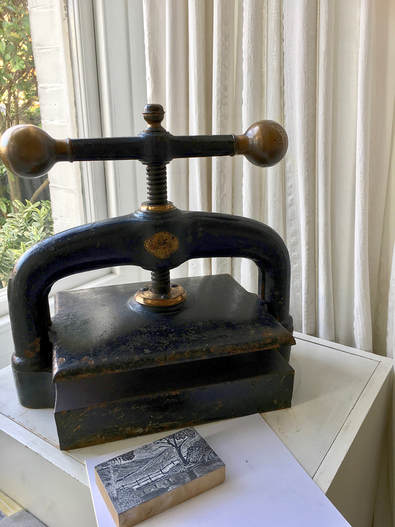
In September I was excited to find an old nipping press on Ebay at a reasonable price, in relatively good order and fairly close to here so I could collect it.
Then it sat in the boot of my car for several weeks before I got the help of someone stronger than me to carry it into the house! (Thanks Ian.)
It needed a bit of TLC and WD40 to clean off some rust on the base and top plate but an hour or so with some wire wood, fine wet & dry and a little elbow grease and it ready to go.
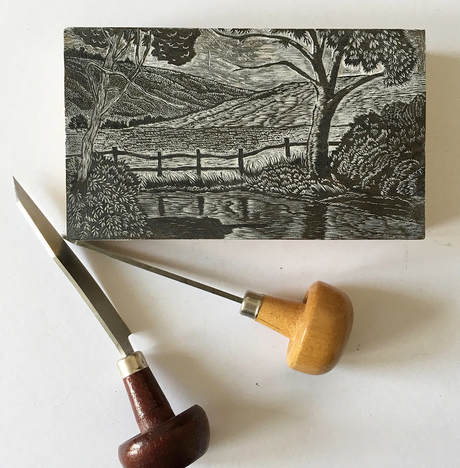
As I'd almost finished a new wood engraving this week it was good time to test out the press.
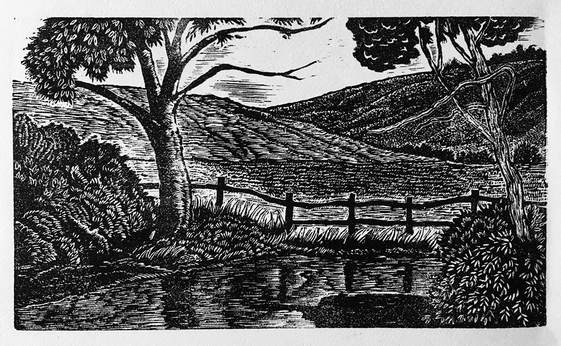
| I put the inked up block onto a piece of card and carefully laid the paper on top it before placing a piece of felt the top. I didn't want any oil residue or rust to stain the paper and thought the metal top plate might damage the paper. Finally I slid it all onto the printing base and turned the screw handle down. It was a bit hit and miss to start with, not knowing how much pressure to apply. My first print was too light and was probably due to lack of ink on the block. The second print was better but there were some areas where the pressure had been uneven. On the third print I lowered and raised the screw several times and even moved the block around to try and get a more even print. The result was better but in the end I also used my hand burnisher to make sure that ever part of the block printed. I think that's how it will work best although on much smaller blocks it might not be necessary. We'll see! |
Stedham print
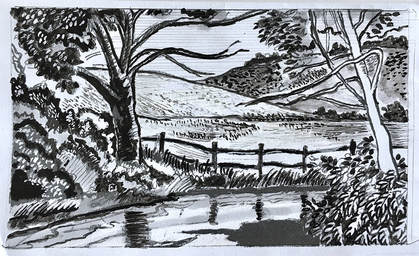
 Sketch for new wood engraving.
 My sketch for the Stedham print.
I'd taken photos on the drive up to collect the press and used one of them for the idea for a new wood engraving.
There's clearly a little more work to do on the block but overall I'm happy with the result and with the nipping press!


 RSS Feed